Apr 09
Creating text effects in Photoshop
Posted by Benedikte Vanderweeën on 09/04/2014
In this tutorial, i’m showing some text effects that can be applied using the effects panel in Photoshop. First, i’m giving some research tips and references, next i’ll show the final result of the text effect and give step-by-step instructions on how to apply the text effects. Resources, fonts and textures that are showcased in the effects are listed at the end in References.
How to apply text effects in Photoshop?
Doing research
Doing research means collecting ideas, read articles, watch examples and doing a lot of experimenting to start.
 Some website like "Vernacular Typography" offer great inspiration to experiment with text effects.
The list to search for inspiration is endless, but here are a few, good tips to start from:
- Vernacular Typography is a great way to start with
- Pinterest has some great boards with typography if you search with the keyword "Typography".
- Instagram has some great shots with hashtags #badgehunting by Allan Peters
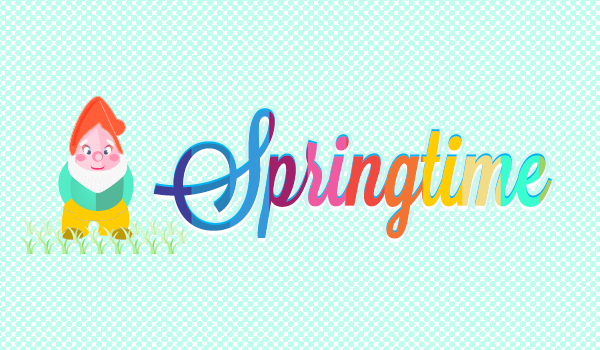
Text Effect "Springtime"

For this effect, the font used is a nice script font, named "Lavanderia" by Lost Type (by designer James T. Edmondson). In this effect, we created a row of different colors next to each other, next we type the word and apply a Clipping Mask, next the text will get a drop shadow to apply an inset effect and an overall stroke to have the word pop-out a bit of the background. The colors used are hex values and typed next to the color for your reference.
Step 1: create the color bars
Create 11 color bars next to each other
Start Adobe Photoshop (for this tutorial, i'm using CS6) and choose File > New Document cmd + N. For this tutorial i'm setting the dimensions to 600 x 350 pixels.
 Create a new document, set the dimensions and colorspace.
Start by selecting the Rectangle Tool U in the tool bar and draw a rectangle from the top to the bottom and give it a purple color. The width of each color bar should be around 48 pixels. Each color bar will overlap the previous one. In case you are using other dimensions, make sure you divide the width to the amount of blocks. I start with a purple color and from there, i proceed to blue, then red, then orange and yellow to finish by green. These are the values for the colors i used: #403d98, #2980b9, #3498db, #a1206a, #ef5ba1, #f04940, #f37431, #ffcd00, #f2dc86, #3afed0, #a3d065.
 Create a new document, set the dimensions and colorspace.
Step 2: color the background
Select a color and pattern for the background
For the background, we are going to apply a duotone effect to give the piece more depth and richness. I downloaded this set of halftone patterns by Chris Spooner. To apply effect to the Type later on in this tutorial, I also downloaded these great pixel patterns by Naomi Atkinson.
Download them and to install them in Photoshop, select Edit > Presets > Preset Manager. In the Preset Type select Patterns and next click the Load button. Select the downloaded patterns and click the filename, next you will see them pop up in the pattern screen. Now we can move on with the background layer. Select the background layer in the layers palette.
 Download and install the patterns and textures.
Next, create a background layer (if it exists yet, unlock it by double clicking it) and give it a light green color fill of #c8f9e7. Next, give the background a pattern by selecting the background layer and clicking the Effects button at the bottom of the layers palette.


You'll notice that each rectangle will be placed on it's own Shape Layer (indicated with the symbol of the rectangle with outlined corners). Select all the layers and click Ctrl + G to group these. Next right click the group layer and select "Convert to Smart Object" in the menu. This a good habit in case you want to adjust a color or shape later, double clicking the Smart Object will isolate the shapes for adjustments. Save and close the Smart Object to return to the master file.
 Group each color shape layer to 1 group and call it 'Color Blocks' by double-clicking the layer.
Step 3: select the type tool
Typography and effect
Next, select the Type tool in the tool palette, set the font to "Lavanderia", the font style to "Sturdy" and the size to 120px and the color to black and type the word "Spring". Center the word in the artboard.
 Type the word 'Springtime'
 Click the Effects palette and set the effect.

Select the type layer with the word and click the Effects button at the bottom of the layers palette. Check the checkbox at the bottom "Drop Shadow" and fill out following values: the blue has a value of #00b4f1

To apply a Clipping Mask, the Type Layer should be placed direct beneath the Color Bar layer group.
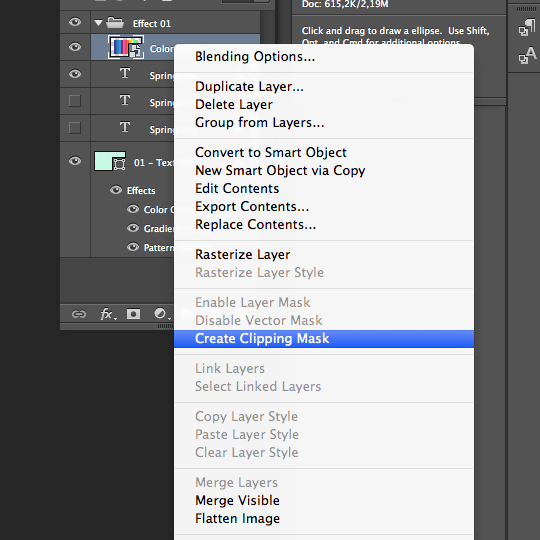
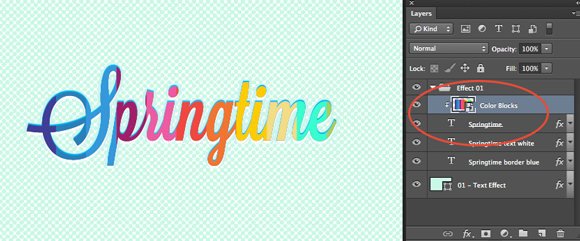 Create a clipping mask by dragging the type layer just under the color bars group.
Copy the Text layer and drag it beneath the clipping mask text layer and rename it to "Springtime text white".
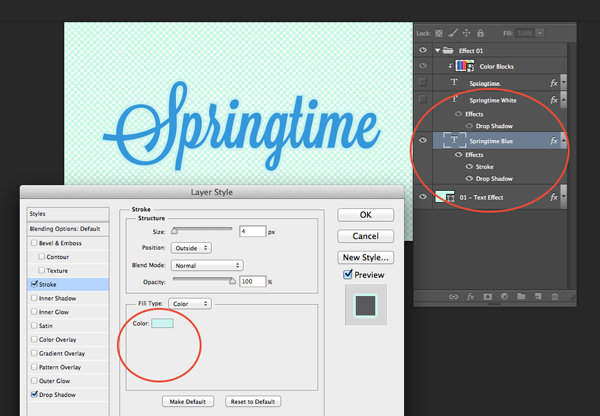 Duplicate the text layer and drag it under the most top text layer
Duplicate the text layer by pressing Ctrl + J and drag it under the most top text layer, use the down arrow key to have it 2 pixels under the upper text. Select the text tool and give your text a white color fill, just by selecting the color for your text.
Repeat the above step and give the type a blue fill like in the image example, nudge the layer down with the arrow tool until you have a depth effect that you are pleased with.
Other - experimental - text effects
You can adjust and experiment with these text effects as you wish, you can come up with great results by experimenting.
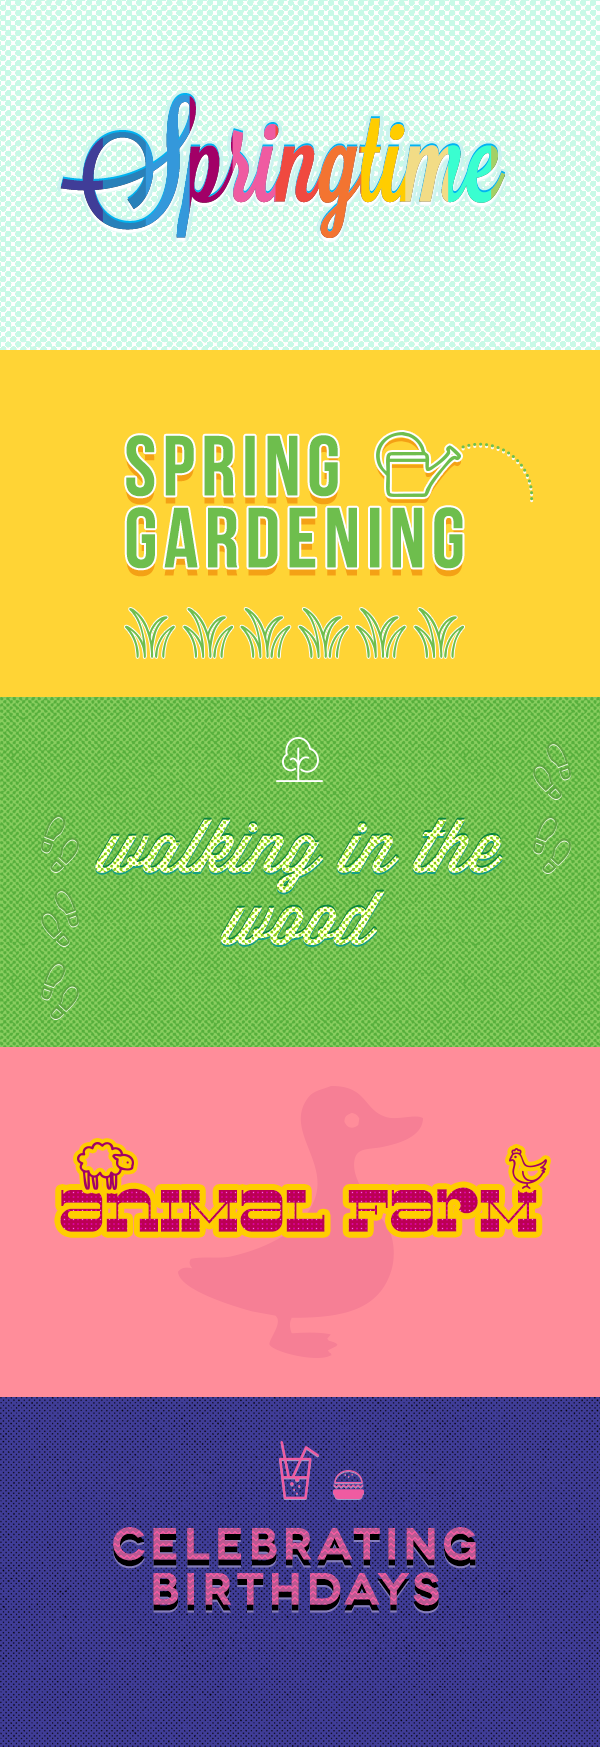 Start experimenting with other text, colors and text effects.

Connect